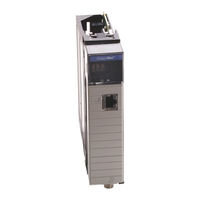
Allen-Bradley ControlLogix Manuals
Manuals and User Guides for Allen-Bradley ControlLogix. We have 6 Allen-Bradley ControlLogix manuals available for free PDF download: Reference Manual, User Manual, Installation Instructions Manual

Allen-Bradley ControlLogix Reference Manual (497 pages)
Integrated Motion on the EtherNet/IP Network
Brand: Allen-Bradley
|
Category: Industrial Electrical
|
Size: 12.35 MB
Table of Contents
-
Preface
11 -
Chapter 1
15 -
-
Chapter 3
87 -
-
Chapter 389
-
-
-
-
-
Data Attributes233
-
Drive Attributes249
-
-
-
CIP Error Codes287
-
-
-
Motor Attributes388
-
Exceptions456
-
-
Index
495

Allen-Bradley ControlLogix User Manual (354 pages)
Integrated Motion on the EtherNet/IP Network, Configuration and Startup
Brand: Allen-Bradley
|
Category: Controller
|
Size: 13.01 MB
Table of Contents
-
Preface
9 -
Chapter 1
11 -
Chapter 2
24 -
Chapter 3
36 -
-
Chapter 5
101 -
Chapter 6
130 -
Chapter 8
163-
With no Feedback180
-
Chapter 9
188 -
Scaling
222-
Hookup Tests226
-
Autotune235
-
Polarity235
-
Load239
-
Load Observer241
-
Adaptive Tuning243
-
-
-
Active Homing256
-
Passive Homing257
-
-
Homing
256-
Examples258
-
Active Homing258
-
Passive Homing261
-
-
APR Faults269
-
-
Manual Tune
275 -
Chapter 14
291-
Quickview Pane291
-
Data Monitor292
-
Inhibit an Axis297
-
-
Appendix A
305 -
Appendix B
305-
Choose a Profile306
-
Profile Operand313
-
Glossary
337 -
Index
341
Allen-Bradley ControlLogix User Manual (203 pages)
ControlNet Interface Module
Brand: Allen-Bradley
|
Category: Network Card
|
Size: 2.45 MB
Table of Contents
-
-
Chapter 3
35
-
-
-
-
-
Chapter 12
171 -
Appendix A
175 -
Appendix B
185
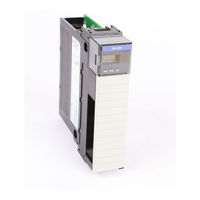
Allen-Bradley ControlLogix User Manual (165 pages)
ControlLogix Data Highway Plus/Remote I/O Communication Interface Module
Brand: Allen-Bradley
|
Category: I/O Systems
|
Size: 2.29 MB
Table of Contents
-
Chapter 2
21 -
-
-
-
-
-
Messaging
79 -
-
-
-
Block Transfers
140 -
Chapter 13
156
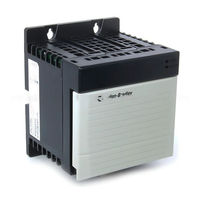
Allen-Bradley ControlLogix Installation Instructions Manual (16 pages)
Redundant Power Supply
Brand: Allen-Bradley
|
Category: Power Supply
|
Size: 1.29 MB
Table of Contents
-
1756-Pa75R12
-
1756-Pb75R12
-
1756-Paxtr12
-
1756-Pbxtr12

Allen-Bradley ControlLogix Installation Instructions Manual (16 pages)
DC 19.2-30V Diagnostic Output Module
Brand: Allen-Bradley
|
Category: Control Unit
|
Size: 0.61 MB
Table of Contents
Related Products
- Allen-Bradley ControlLogix DeviceNet
- Allen-Bradley ControlLogix 5570 series
- Allen-Bradley ControlLogix 5570
- Allen-Bradley ControlLogix ControlNet B Series
- Allen-Bradley ControlLogix DeviceNet C Series
- Allen-Bradley ControlLogix DeviceNet D Series
- Allen-Bradley ControlLogix B Series
- Allen-Bradley ControlLogix 1757-SRM
- Allen-Bradley ControlLogix 1756-IF6I
- Allen-Bradley ControlNet GuardLogix 1756