Daikin EHVH04SU23EA6V Manuals
Manuals and User Guides for Daikin EHVH04SU23EA6V. We have 3 Daikin EHVH04SU23EA6V manuals available for free PDF download: Installer's Reference Manual, Installation Manual
Daikin EHVH04SU23EA6V Installer's Reference Manual (300 pages)
Table of Contents
-
-
Outdoor Unit23
-
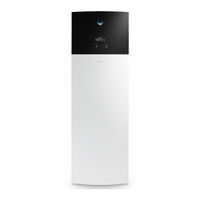
Indoor Unit24
-
-
-
-
-
10 Configuration
140-
Possible Screens145
-
Home Screen146
-
Main Menu Screen148
-
Menu Screen149
-
Setpoint Screen149
-
Settings Menu165
-
Malfunctioning165
-
Room166
-
Main Zone170
-
Additional Zone181
-
Tank194
-
User Settings202
-
Information206
-
Commissioning229
-
User Profile229
-
Operation229
-
Wlan230
-
-
11 Commissioning
236 -
-
-
15 Disposal
267-
To Pump down267
-
17 Glossary
285

Daikin EHVH04SU23EA6V Installer's Reference Manual (268 pages)
Table of Contents
-
-
Outdoor Unit20
-
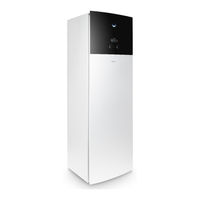
Indoor Unit22
-
-
-
-
-
10 Configuration
131-
Possible Screens135
-
Home Screen136
-
Main Menu Screen139
-
Menu Screen140
-
Setpoint Screen140
-
Settings Menu151
-
Malfunctioning151
-
Room151
-
Main Zone155
-
Additional Zone165
-
Tank179
-
User Settings186
-
Information191
-
Operation209
-
Wlan210
-
-
11 Commissioning
215 -
-
-
15 Disposal
246 -
17 Glossary
265
Daikin EHVH04SU23EA6V Installation Manual (48 pages)
Brand: Daikin
|
Category: Air Conditioner
|
Size: 9.8 MB
Table of Contents
-
Main Zone33
-
Information33
-
Indoor Unit46